Enabling Active User Filtering with Microsoft Entra ID
This article explains how you can enable Active User Filtering by integrating Dark Web ID with Microsoft Entra ID. This integration requires specific configurations within the Azure Portal to ensure secure and functional communication.
Prerequisites
-
Partner Administrators and Partner Agents have the ability to set up Active User Filtering features.
-
You must have access to Dark Web ID and administrative access to a Microsoft Entra ID (Azure) account (a Global Administrator or Hybrid Identity Administrator role is typically required to grant the necessary permissions).
Adding the Microsoft Entra ID directory type
To add the Microsoft Entra ID directory type, you must first configure an application registration within the Azure Portal to provide Dark Web ID with secure, authenticated access.
Part 1: Configuring Microsoft Entra ID (Azure Portal)
-
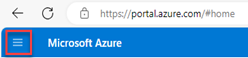
Log in to the Azure Portal.
-
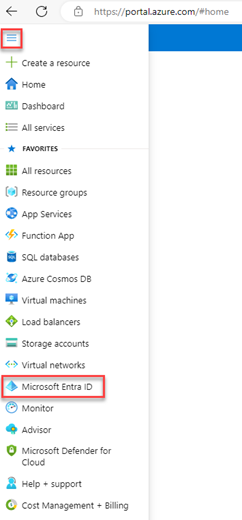
In the upper-left corner, click the menu icon.
-
Select Microsoft Entra ID.
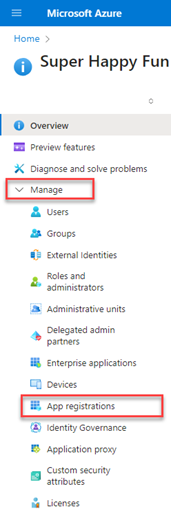
4. Expand the Manage item and select App registrations.
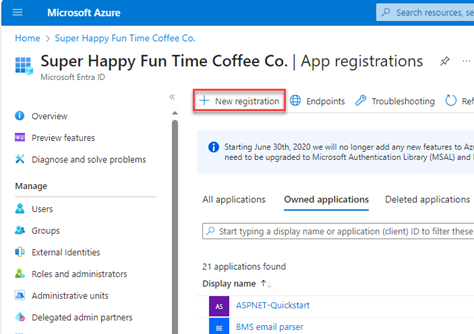
5. In the top menu bar, click + New registration.
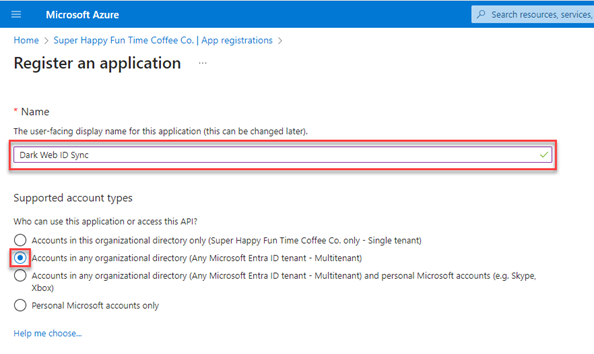
6. On the Register an application page, do the following:
-
Enter an application name (e.g., DarkWebID_Sync_App).
-
In the Supported account types section, select Accounts in any organizational directory (Any Microsoft Entra ID tenant - Multitenant).
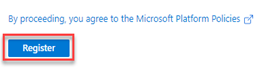
7. At the bottom of the page, click Register.
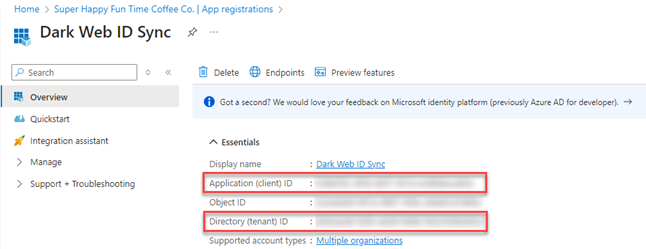
Upon registration completion, you will be directed to the application's overview page. An Application (client) ID and a Directory (tenant ID)are displayed. These unique identifiers are essential for authenticating the integration within the Dark Web ID portal and must be securely recorded.
Configuring specific API permissions:
To allow Dark Web ID to read the list of users from your specified Microsoft Entra ID group, you must grant explicit permissions to the application registration:
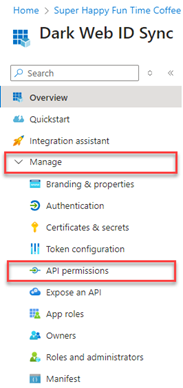
8. In the navigation menu, select Manage > API permissions.
9. Click Add a permission.

10. Click Microsoft Graph.
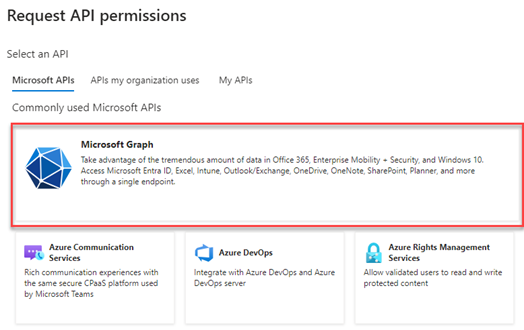
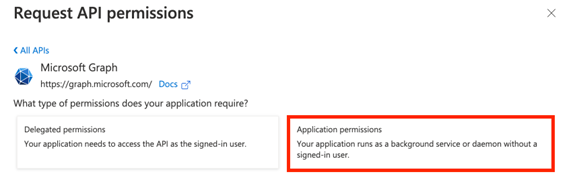
11. Click Application permissions (the app needs to act on its own behalf, not as a signed-in user).
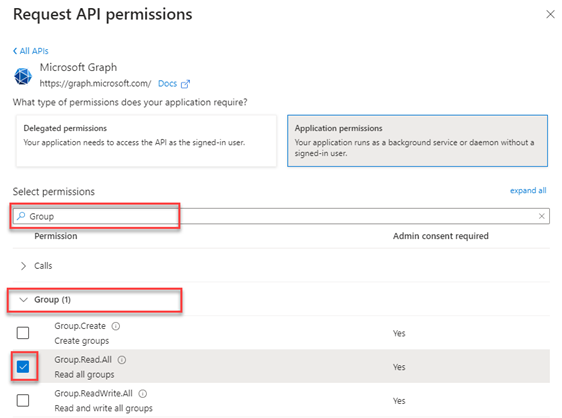
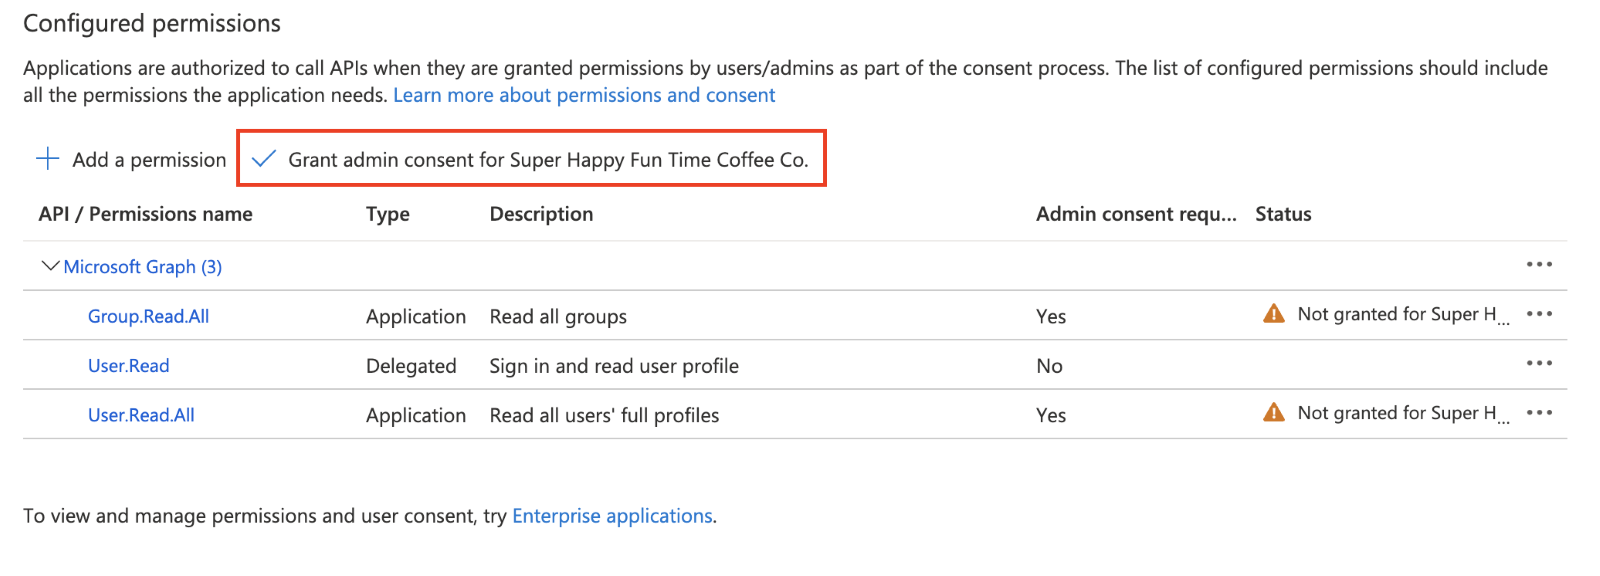
12. In the Select permissions search box, enter Group. Click the Group drop-down menu and select the Group.Read.All check box. This permission allows the application to read all group properties and memberships in your organization.
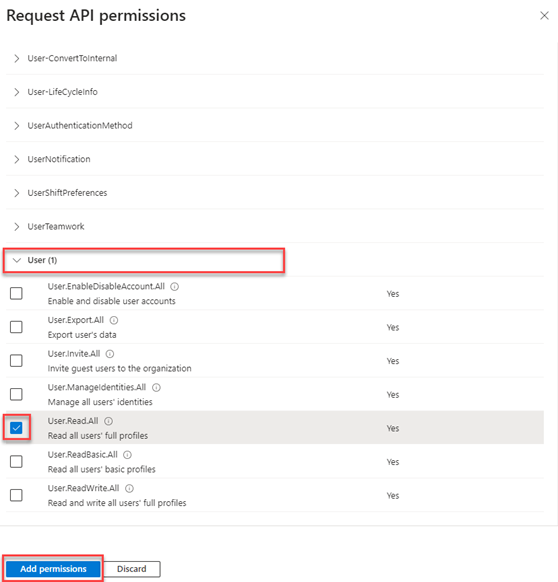
13. Scroll down to User, click the drop-down menu and select User.Read.All. This ensures the application can read the full user profiles necessary for monitoring. Click Add permissions.
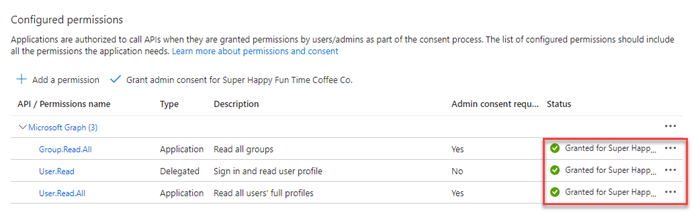
14. On the API Permissions page, click Grant admin consent for [Your Directory Name]. This crucial step approves the permissions for all users in your organization and changes the status from Not granted to Granted.
15. In the confirmation modal, click Yes. The Status column in the Configured permissions will update to indicate the permissions have been successfully granted.
Creating the client secret (authentication credential):
The client secret acts as a highly sensitive password for your application. It is required for Dark Web ID to securely authenticate with your Microsoft Entra ID tenant.
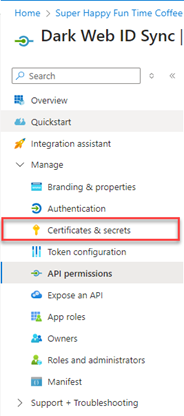
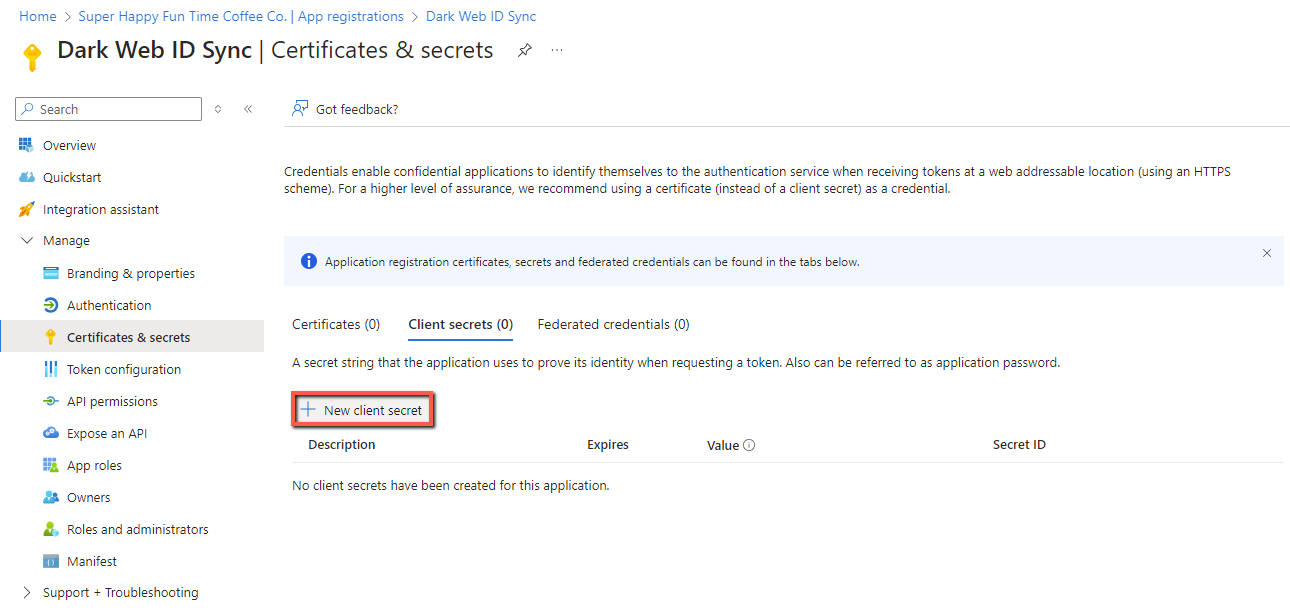
16. In the navigation menu, click Certificates & secrets.
17. Click + New client secret. This secret is needed to authenticate with Dark Web ID.
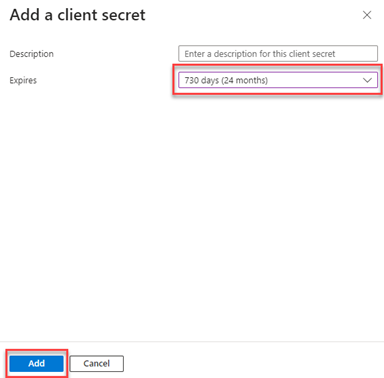
18. In the Add a client secret pane:
-
Providing a Description is optional (e.g., DarkWebID_Secret_2025).
-
In the Expires list, select when the secret should expire.
-
Click the Add button.
NOTE When the client secret expires, you will be required to create a new one. If a new user is added after the client secret associated with the Microsoft Entra ID has expired, that new user will not be monitored for compromises.
19. Immediately copy the Value field from the client secret you just created. This is the Client Secret credential needed in the next procedure.
IMPORTANT This value is only visible once. If you navigate away from this page without copying it, you must create a new secret. Ensure you copy the Value field, not the Secret ID number.

NOTE To delete a client secret, click the delete icon at the end of the row. To create a new client secret, perform steps 17 through 19.
Part 2: Syncing Dark Web ID with Microsoft Entra ID
To sync Dark Web ID with Microsoft Entra ID, you will use the Client Secret, Client ID, and Tenant ID gathered in the previous configuration steps.
1. Log in to Dark Web ID.
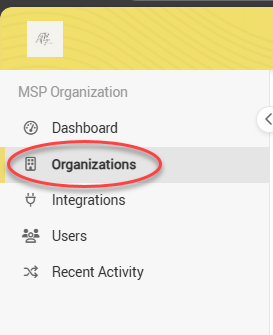
2. In the sidebar menu, select Organizations.
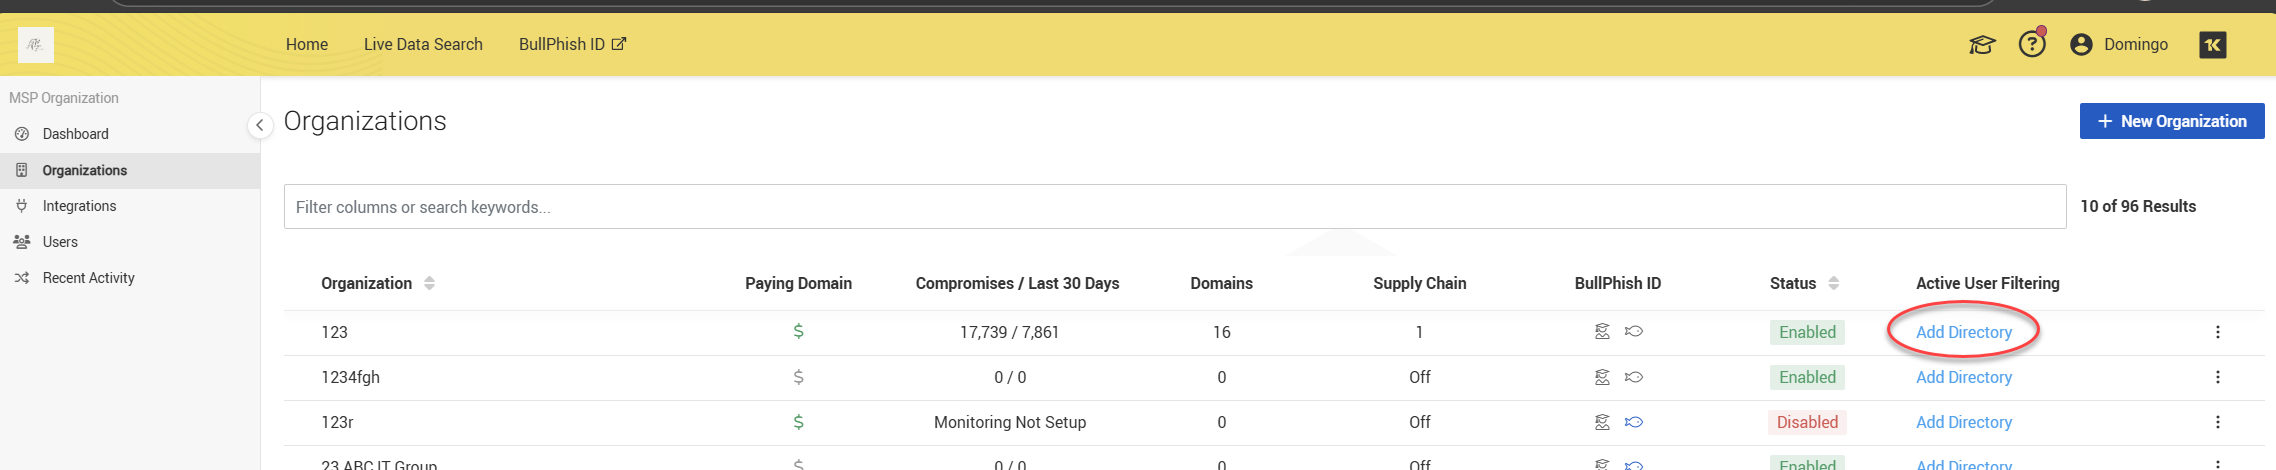
3. In the Active User Filtering column, for the applicable organization, click Add Directory.
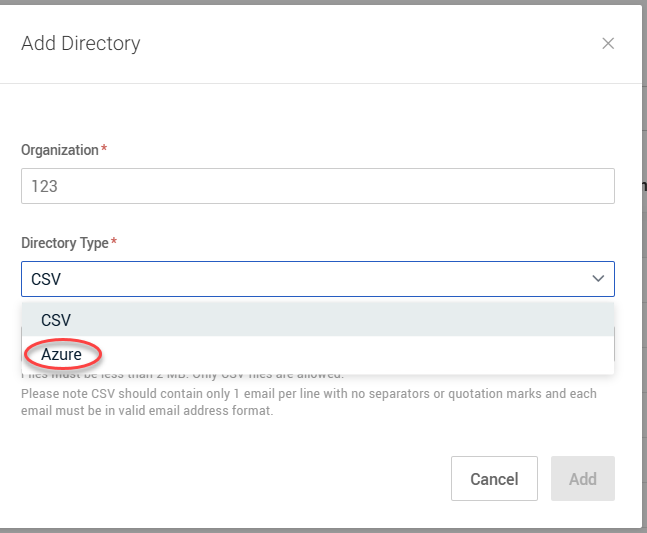
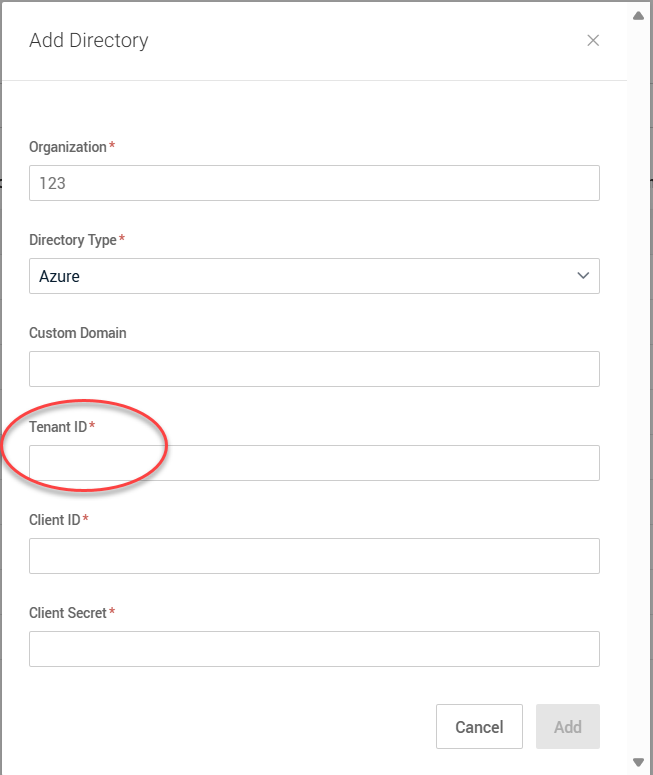
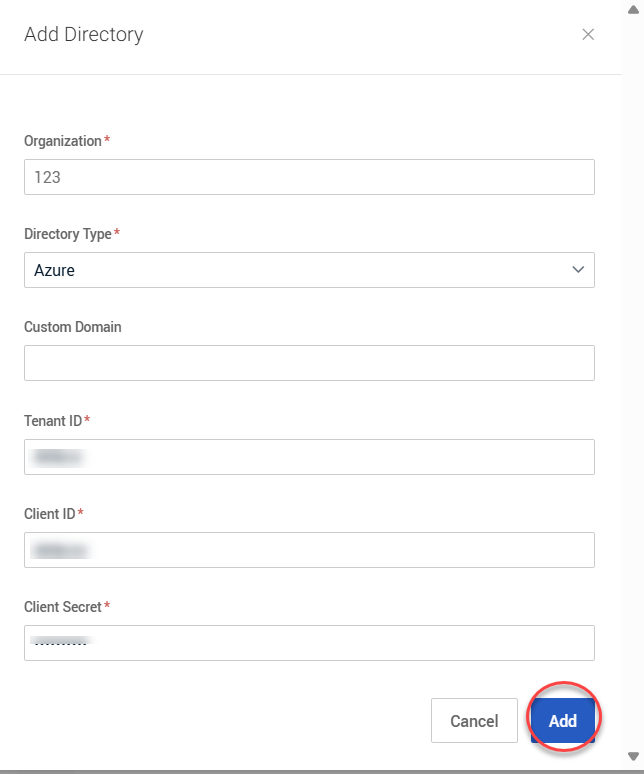
4. In the Add Directory modal, complete the following:
-
Directory Type: Select Azure.
-
Client Secret: Paste the secret value you copied in step 19 from the previous procedure.
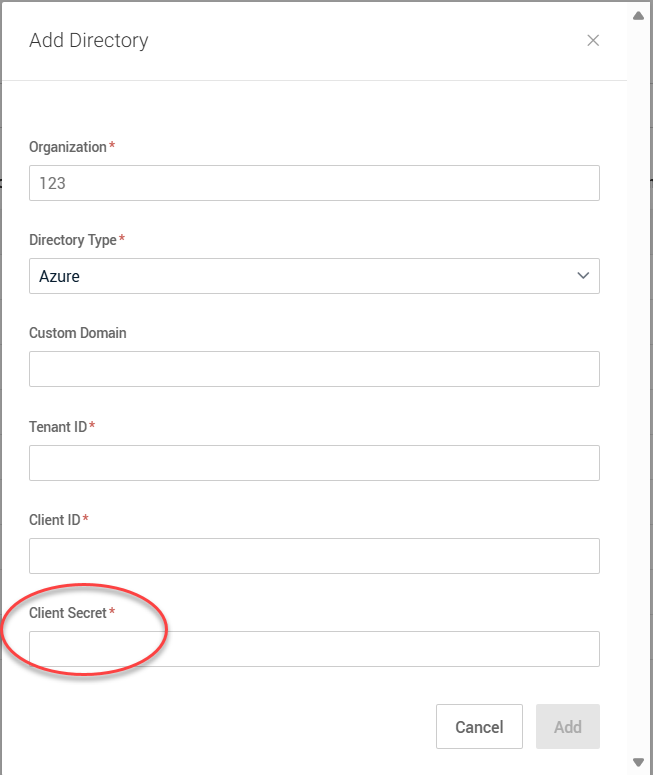
-
Client ID: Paste the Application (client) ID from Step 7.
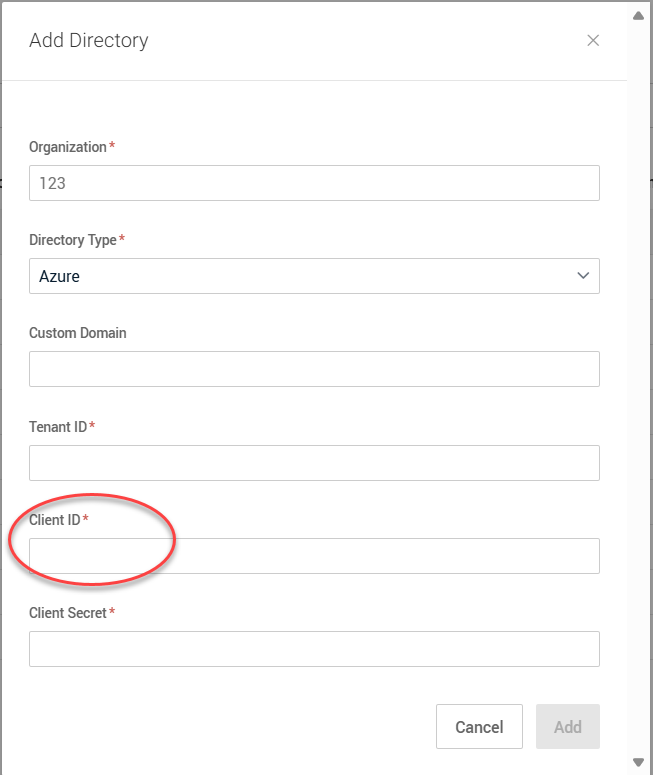
-
Tenant ID: Paste the Directory (tenant) ID from Step 7.
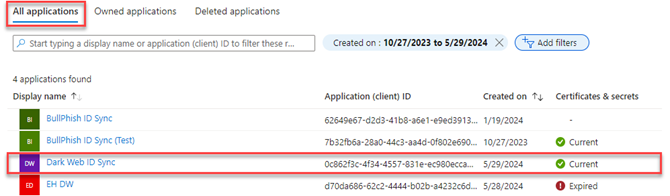
NOTE If you haven't securely recorded your Application (client) ID and Directory (tenant) ID from step 7, you can find them in Azure. To do this, click App registrations in the breadcrumb trail and then select the All applications tab. Click the name of your application to access the App registrations page. If your application is not listed, try refreshing the page.
IMPORTANT Do not enter any data in the Custom Domain field. Any data entered here will cause the integration setup to fail.
5. At the bottom of the modal, click Add.
A Group list will now populate with the Microsoft Entra ID groups accessible to the application based on the permissions you granted. Select the specific group you wish to monitor.
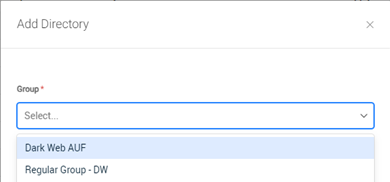
7. Click Add.

Active User Filtering is now enabled for the organization, monitoring only the users within that specific Microsoft Entra ID group.
NOTE Monitored users will not show up on the organization's Users page.


