Adding a user to a client's organization
To add a user to a client's organization, follow these steps:
-
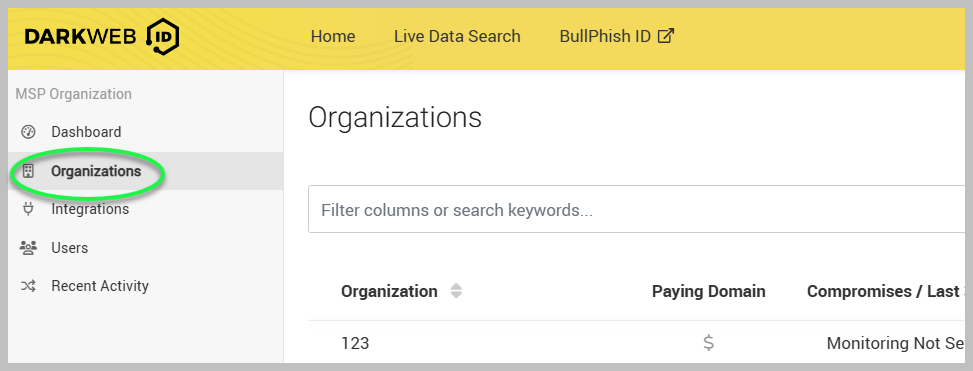
Click Organizations on the left menu.
-
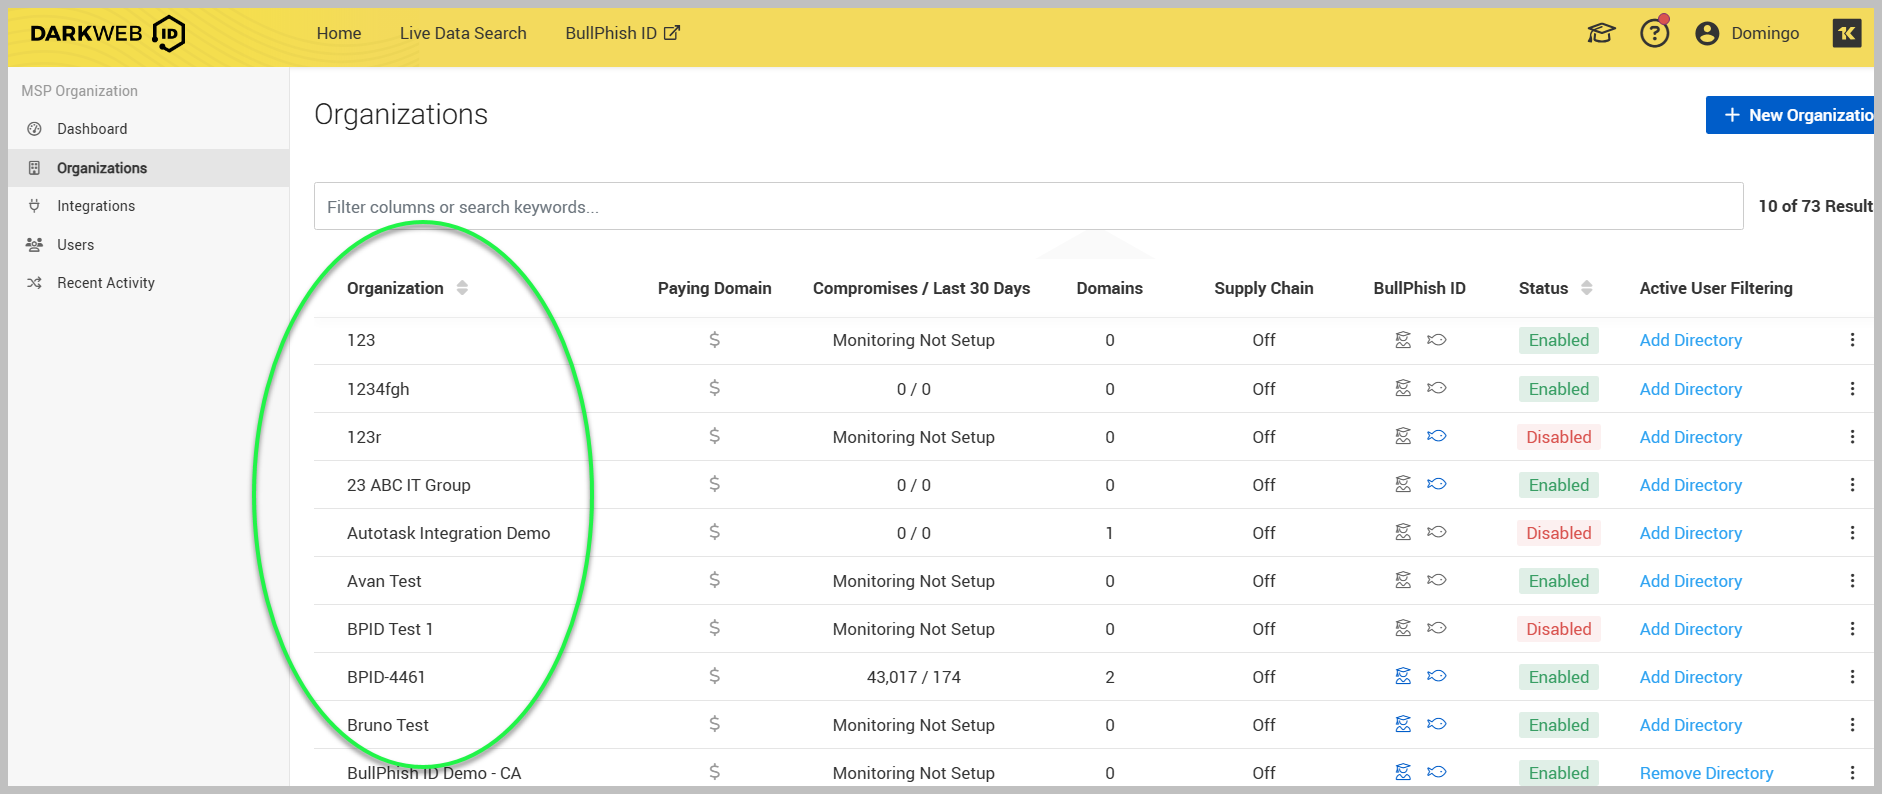
Click the organization to which you'd like to add a user.
-
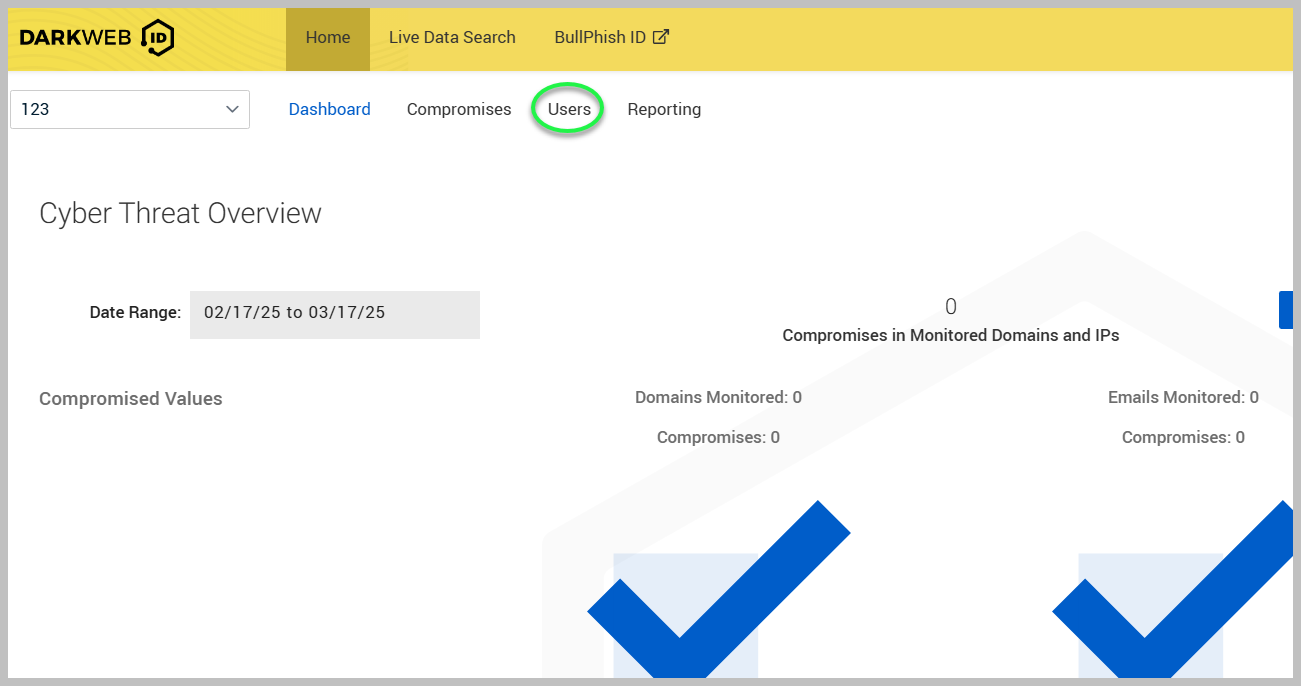
Clicking and organization will take you to the selected organization's dashboard. Click the Users tab in the upper menu.
-
You can manage all the organization's users here. To add a new user, click + New User.
-
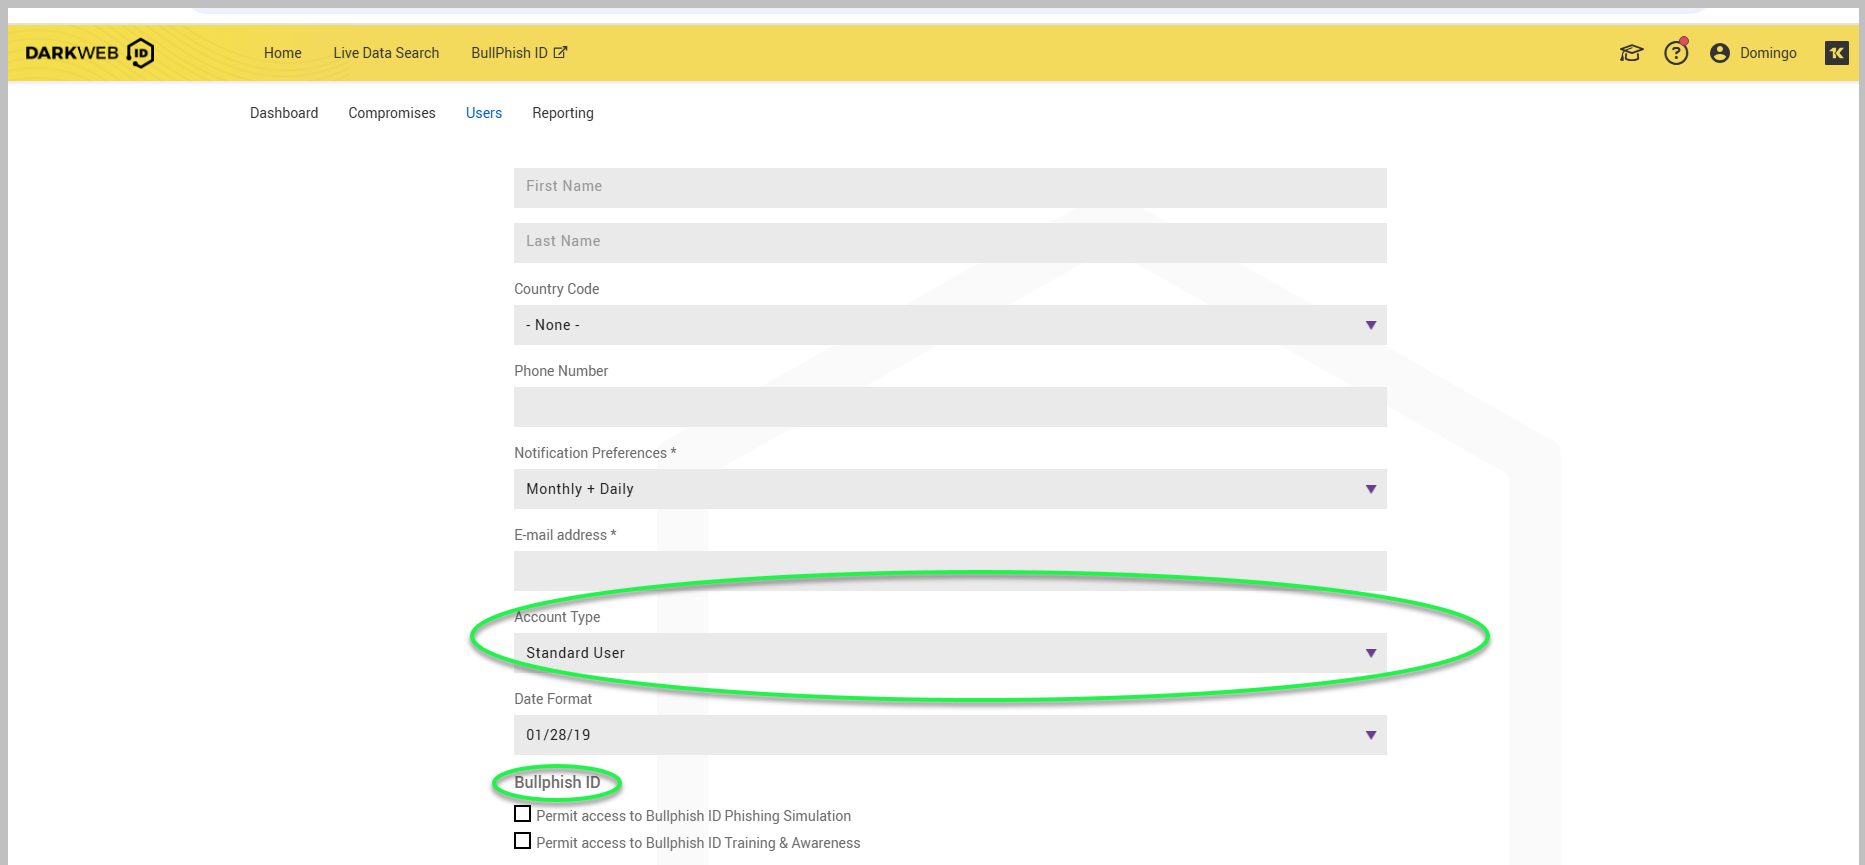
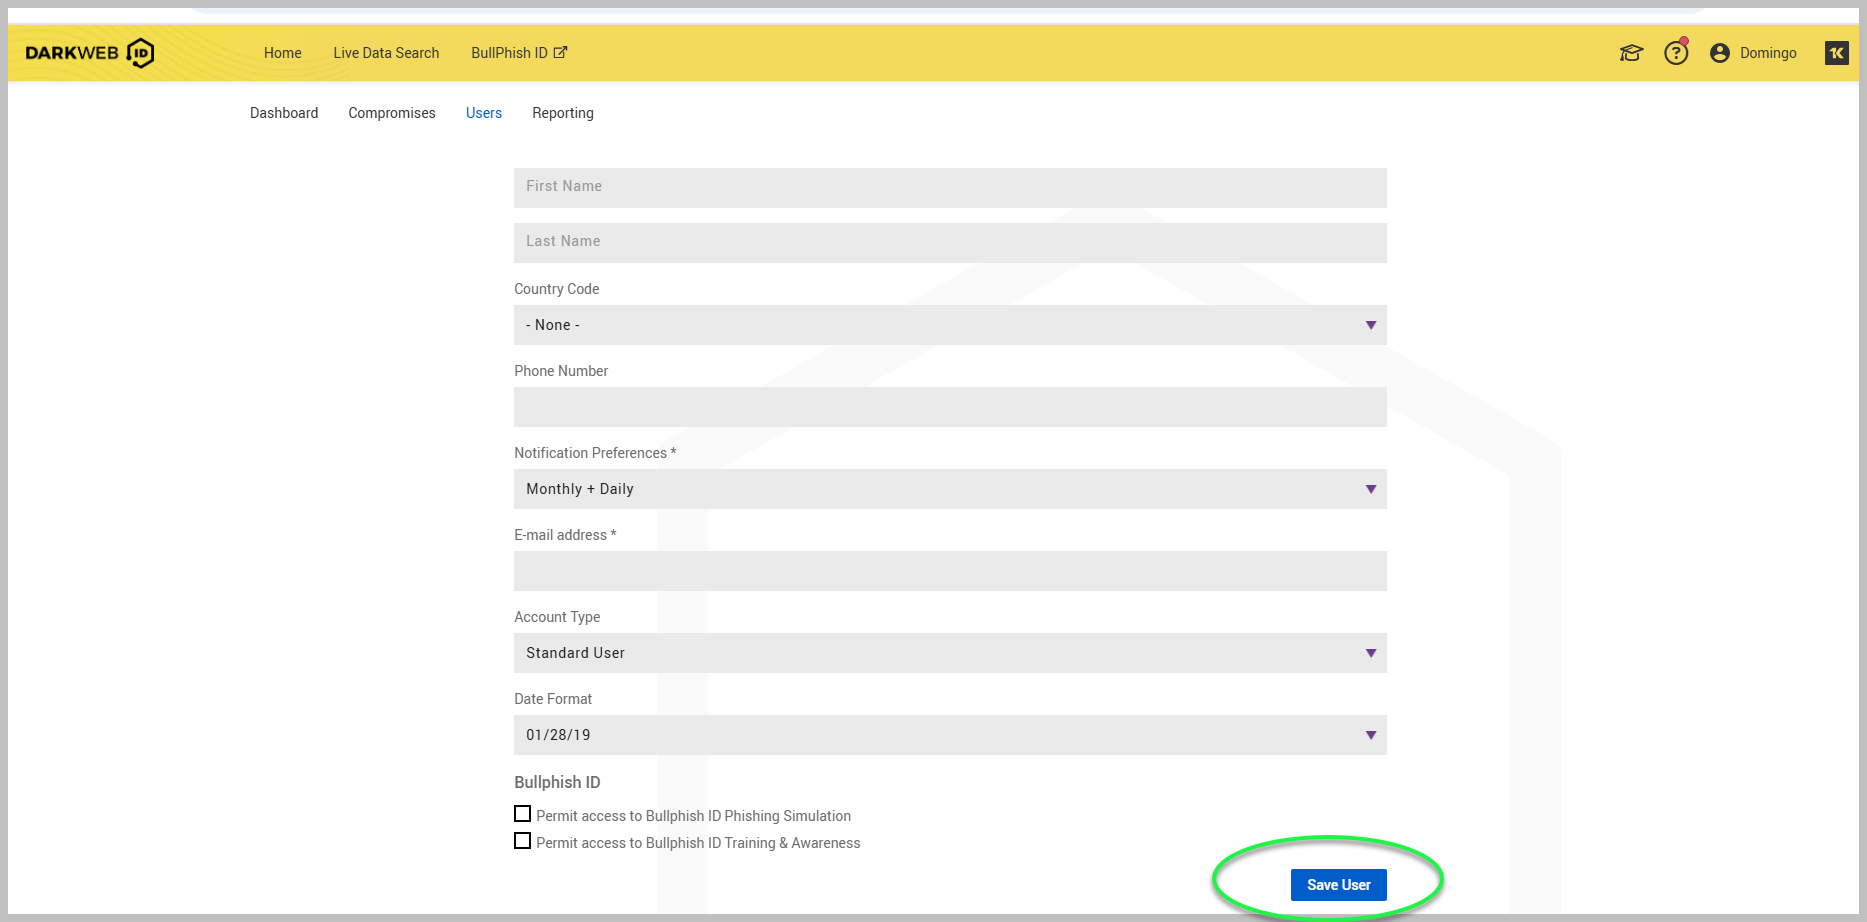
Enter the required information for the user. In Account Type, you can choose whether the user is a Standard User or a Privileged User (with full credentials visible). You can also grant access BullPhish ID phishing simulations and training and awareness under BullPhish ID.
-
Once you have filled in the information, click Save User in the bottom-right corner.
-
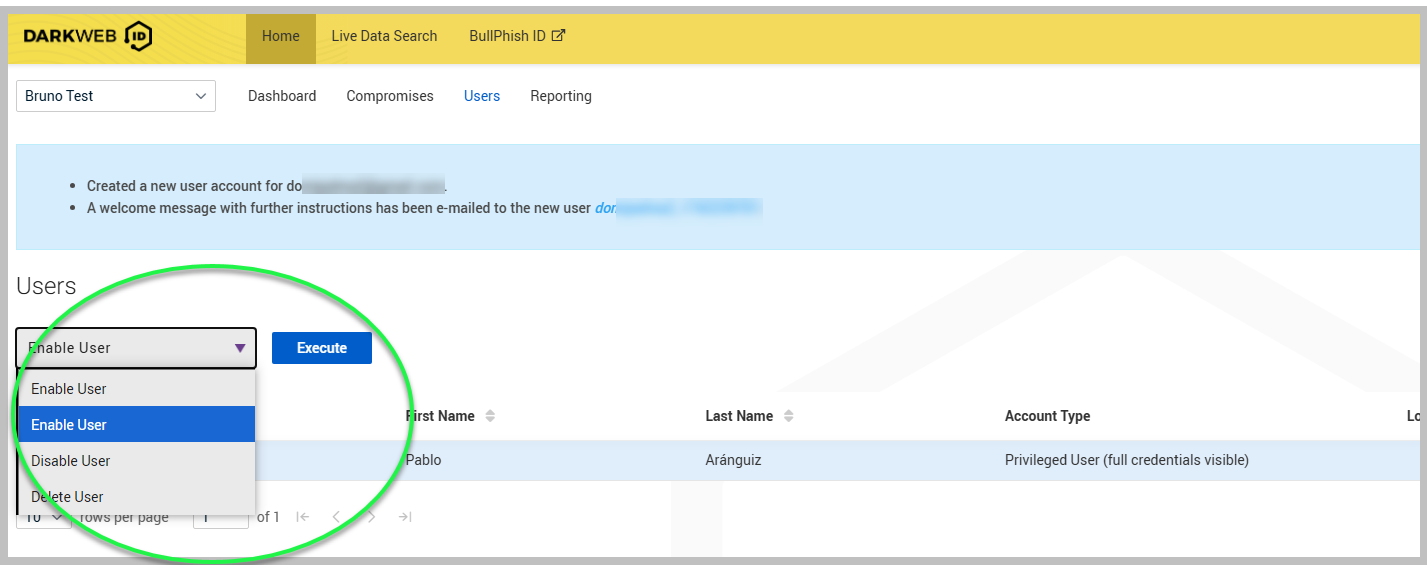
After clicking Save User, a new window will appear, indicating that the user has been successfully created for the organization.
-
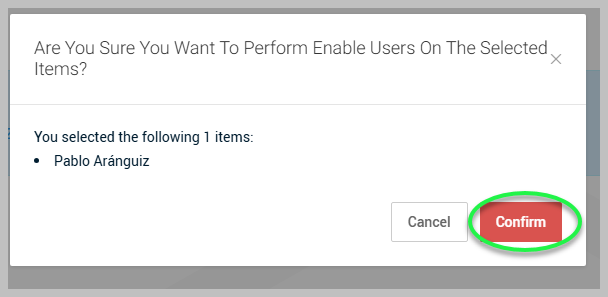
To manage a user quickly, you can disable, delete, or delete them by selecting the appropriate option under Users section and clicking Execute.
