Adding domains, IPs, and personal emails for monitoring
Adding monitored values
To add domains, IPs, and personal emails for monitoring, start by doing the following:
-
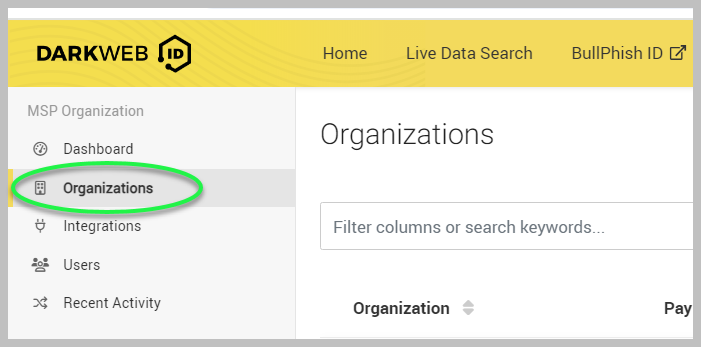
In the side navigation menu, click Organizations.
-
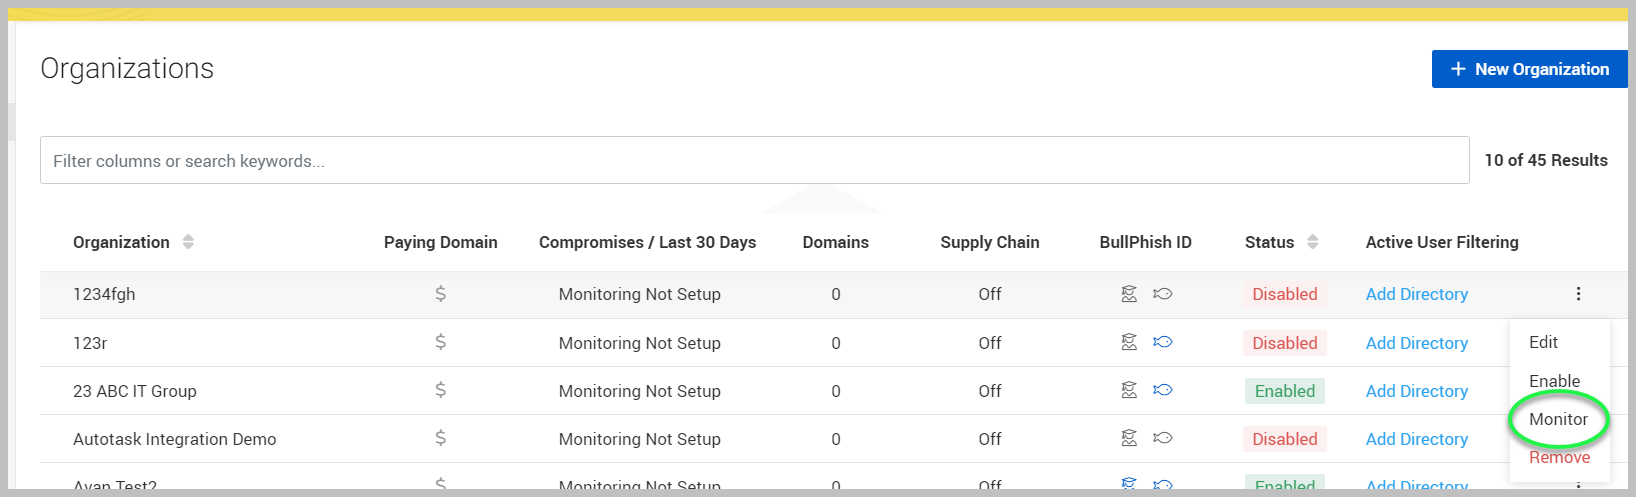
Click the ellipsis menu icon
 on the far right.
-
Select Monitor.
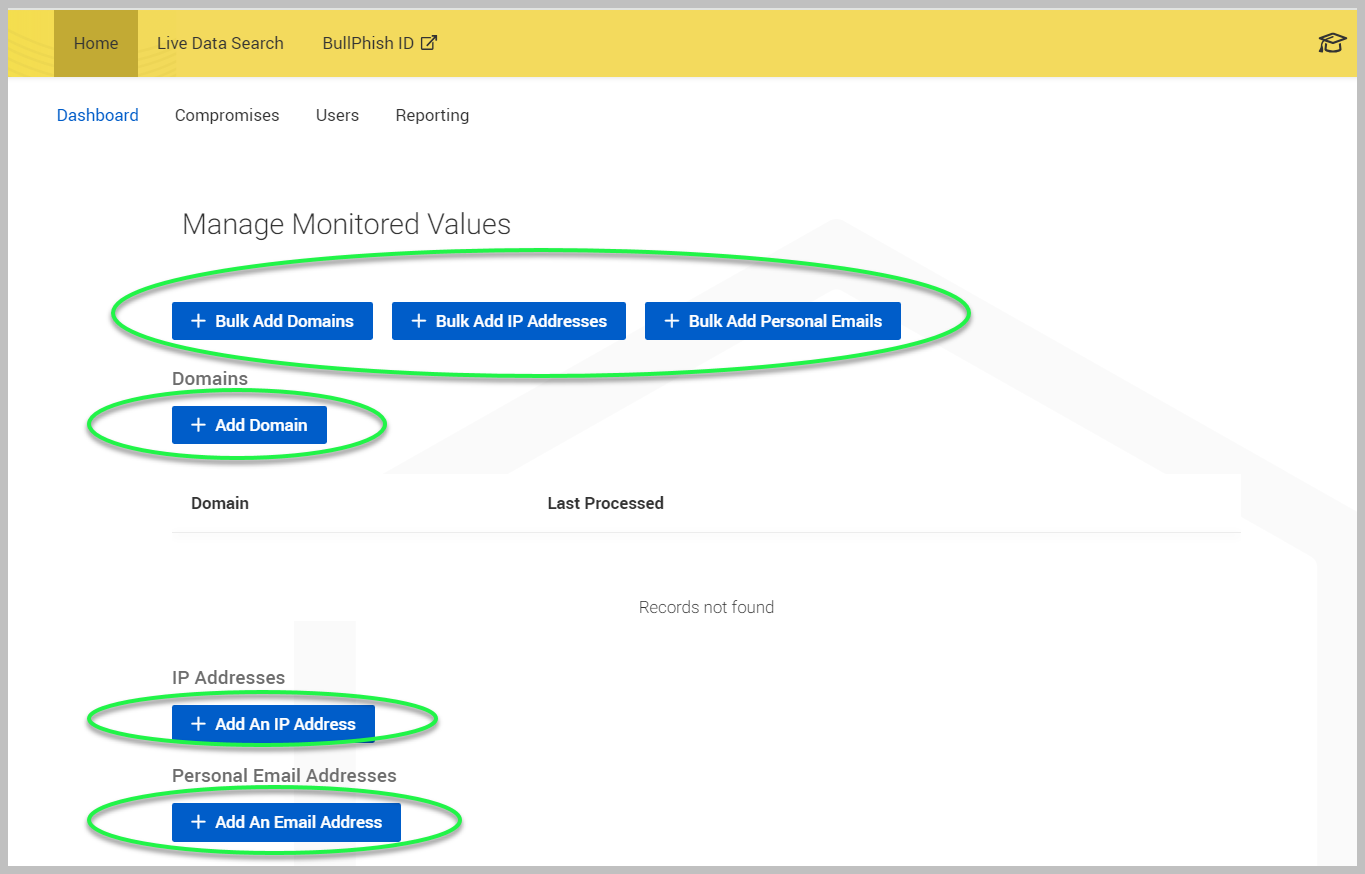
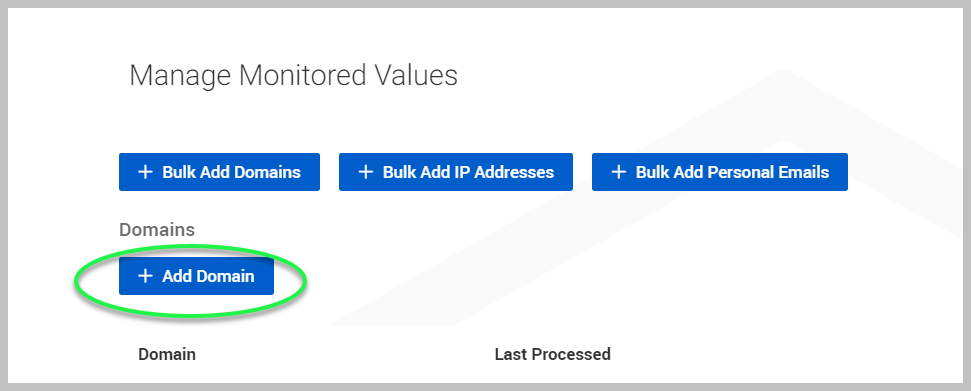
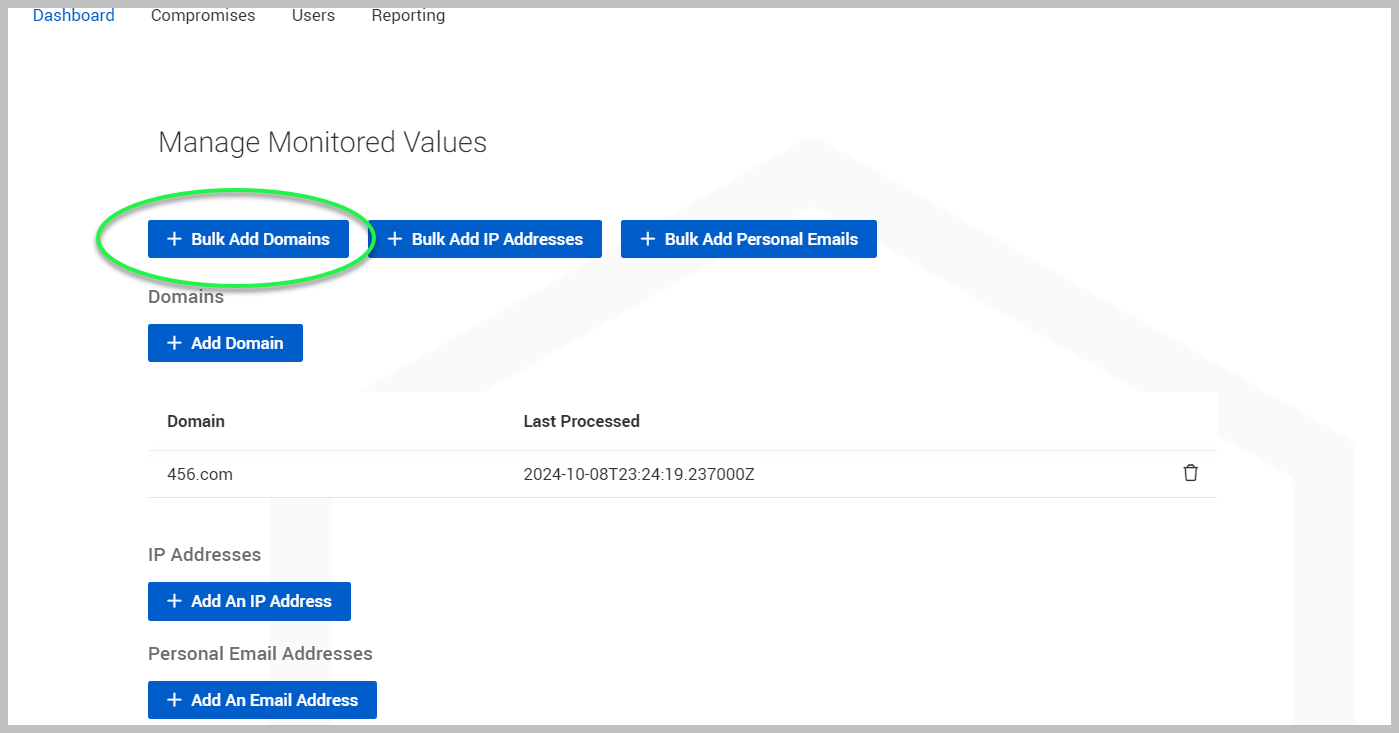
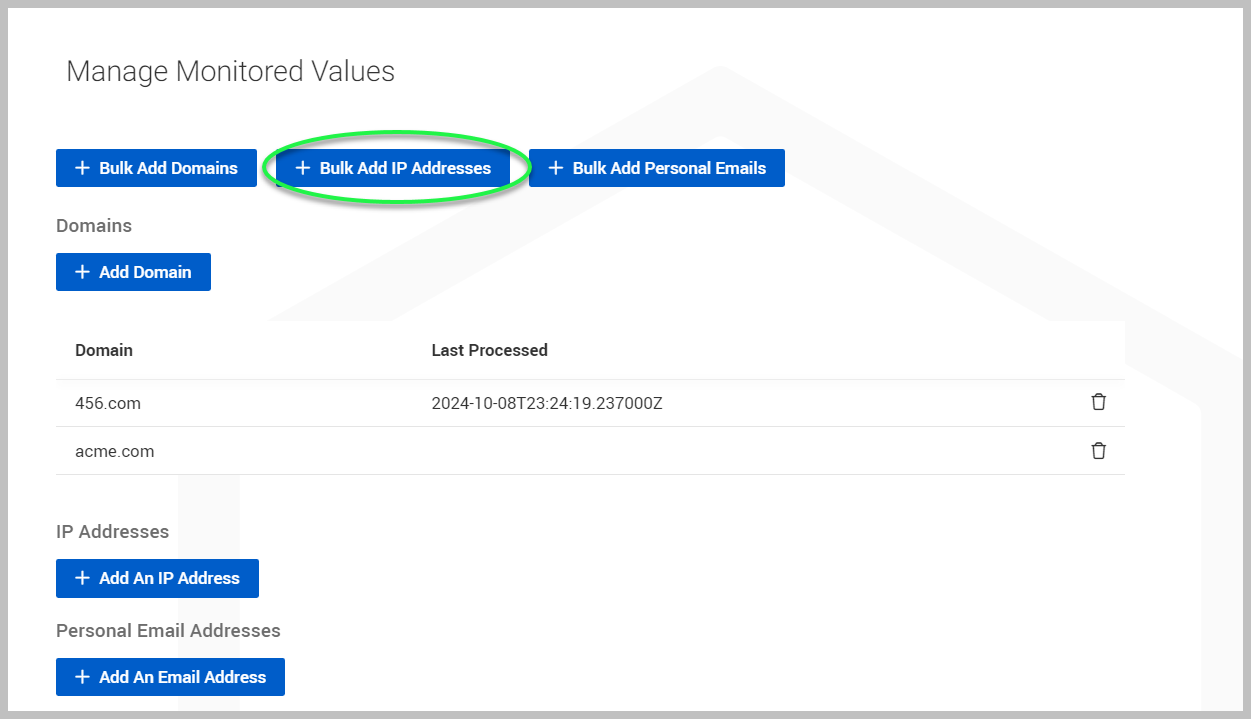
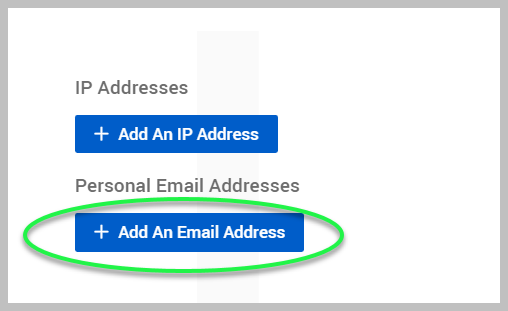
The Manage Monitored Values page will be displayed. Here, you can select + Add Domain, + Add An IP Address, or + Add An Email Address, depending on what you wish to monitor.
You can add domains, IP addresses, or email addresses in bulk by clicking + Bulk Add Domains, + Bulk Add IP Addresses, or + Bulk Add Personal Emails, respectively.
Adding a domain
To add a domain, follow these steps:
-
Select + Add Domain to add a domain to be monitored for this organization.
-
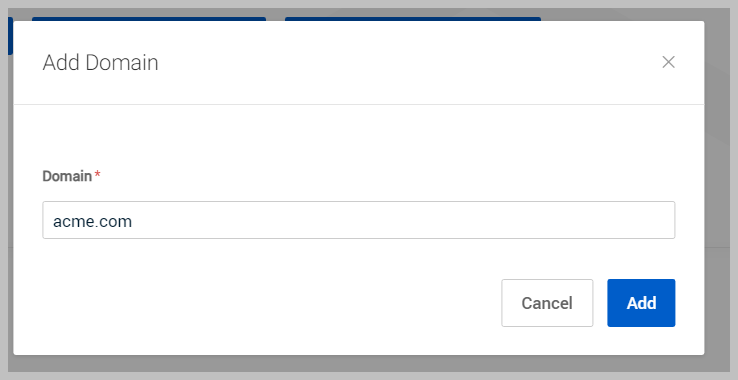
Enter the domain you wish to monitor and click Add.
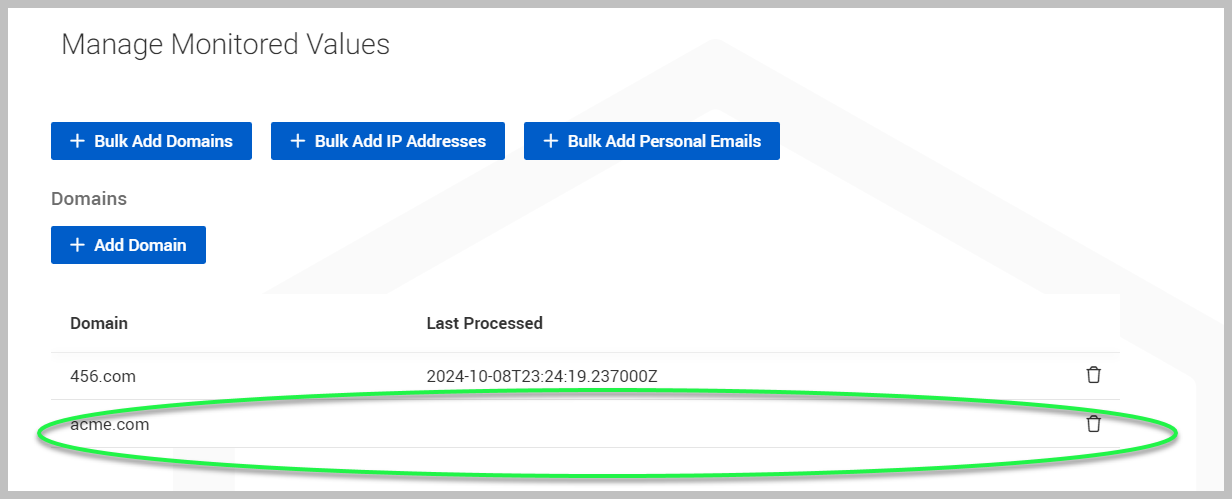
The newly added domain will now be displayed as monitored.
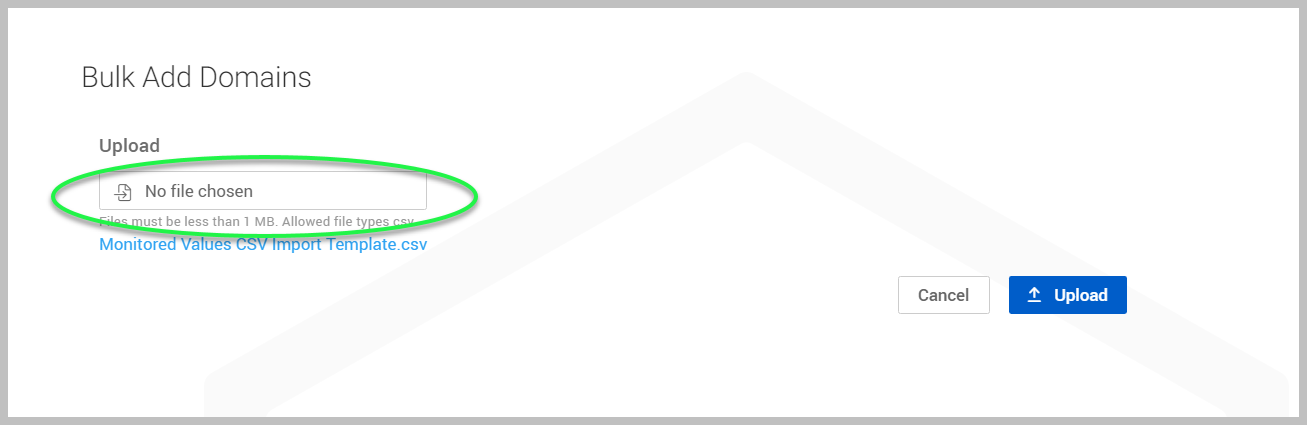
Adding domains in bulk
To add domains in bulk, follow these steps:
-
Click + Bulk Add Domains.
-
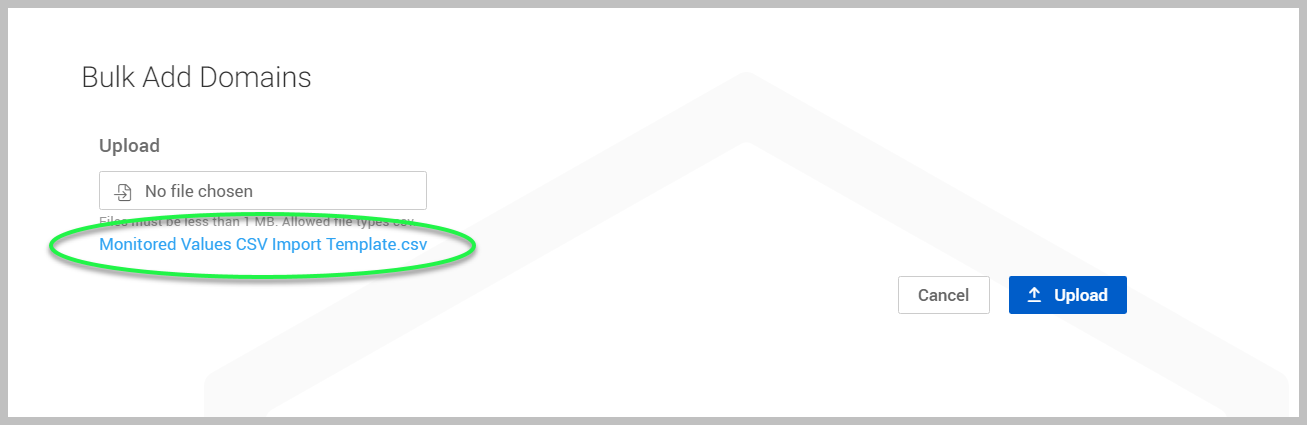
Click the No file chosen field to choose a CSV file from your device. The only allowed file type is CSV.
-
You can download a CSV import template by clicking the Monitored Values CSV Import Template link.
-
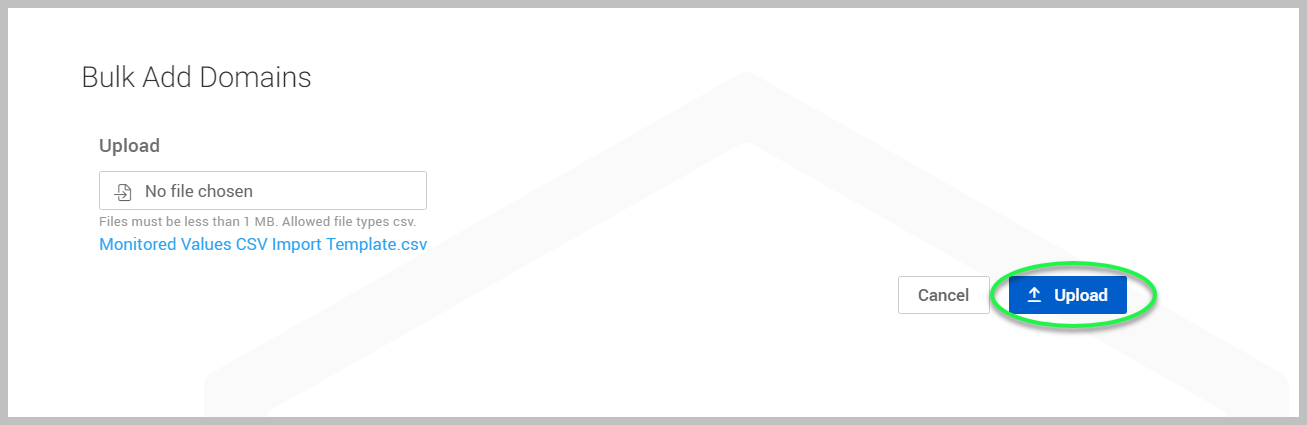
Click Upload.
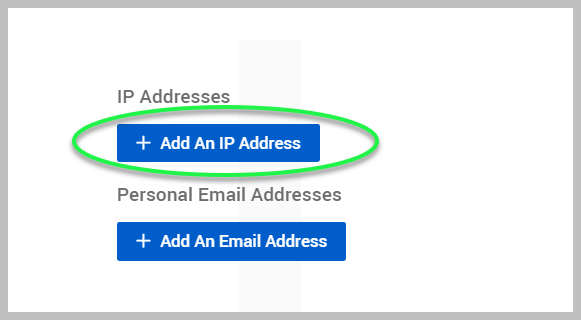
Adding an IP address
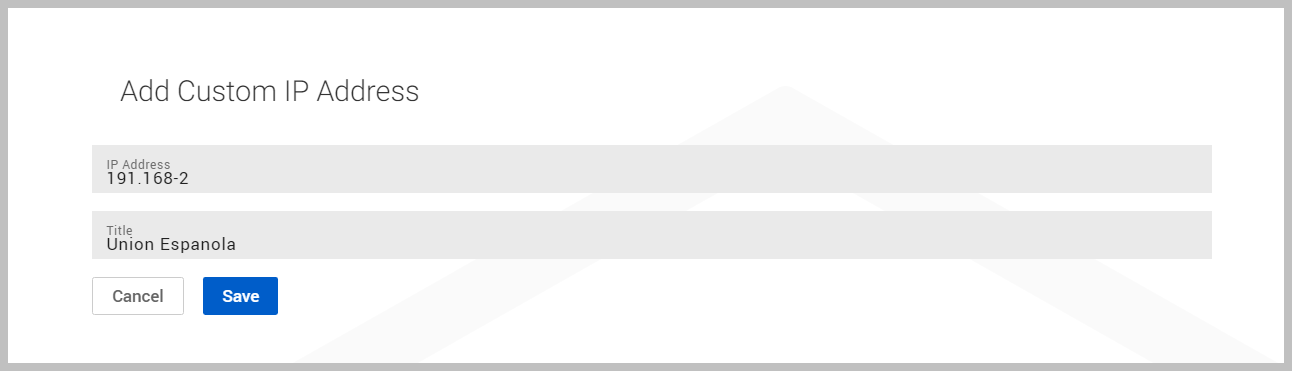
To add an IP address, follow these steps:
-
Select + Add An IP Address to add an IP address to be monitored for this organization.
-
Enter the IP address and title of the address to be monitored for this organization. Click Save.
NOTE Only CIDR masks from /24 through /32 are supported when adding IP addresses. IP ranges broader than /24 are not permitted.
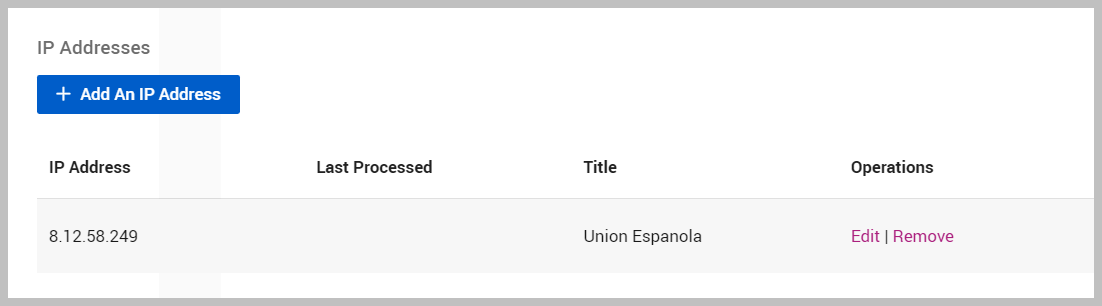
The newly added IP address will now be displayed as monitored.
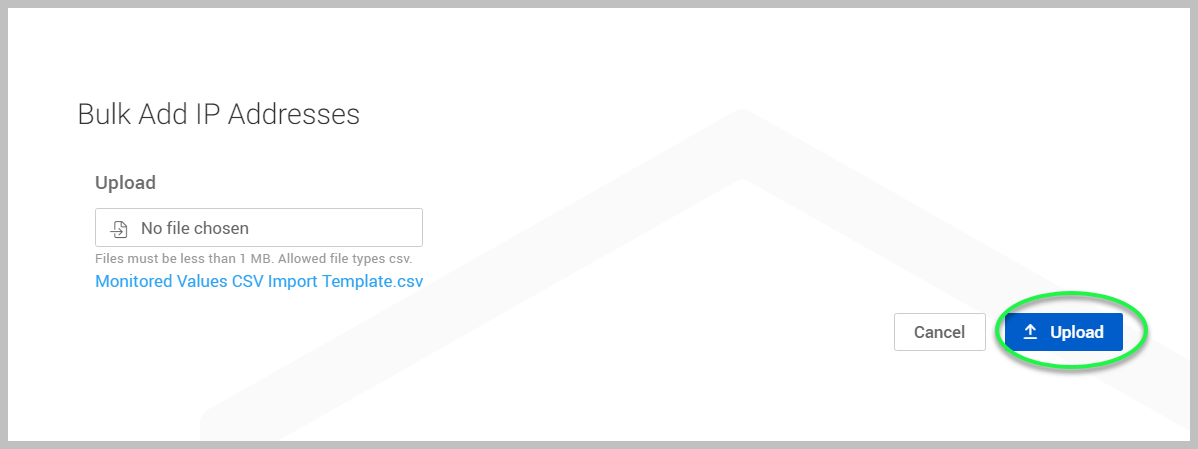
Adding IP addresses in bulk
To add IP addresses in bulk, follow these steps:
-
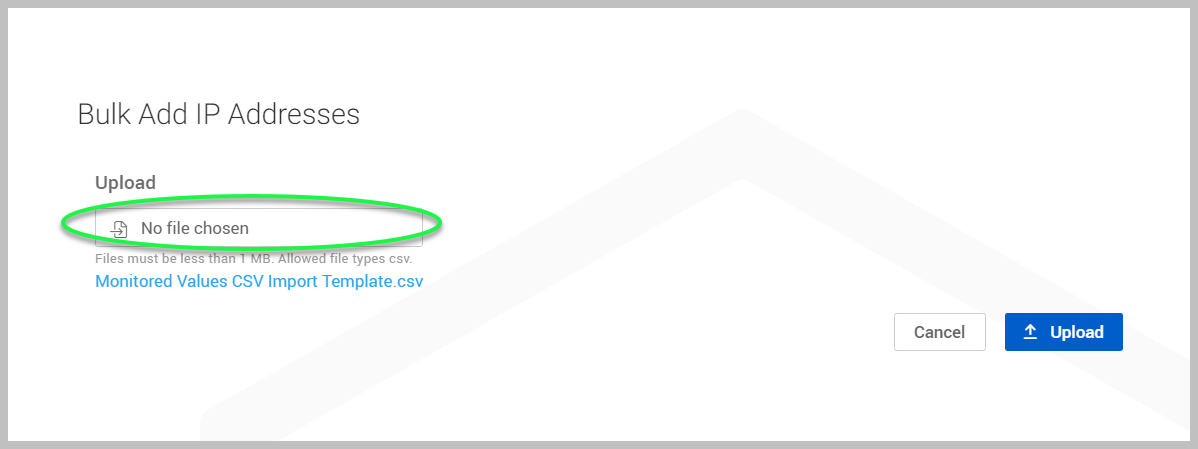
Click + Bulk Add IP Addresses.
-
Click the No file chosen field to choose a CSV file from your device. The only allowed file type is CSV.
-
You can download a CSV import template by clicking the Monitored Values CSV Import Template link.
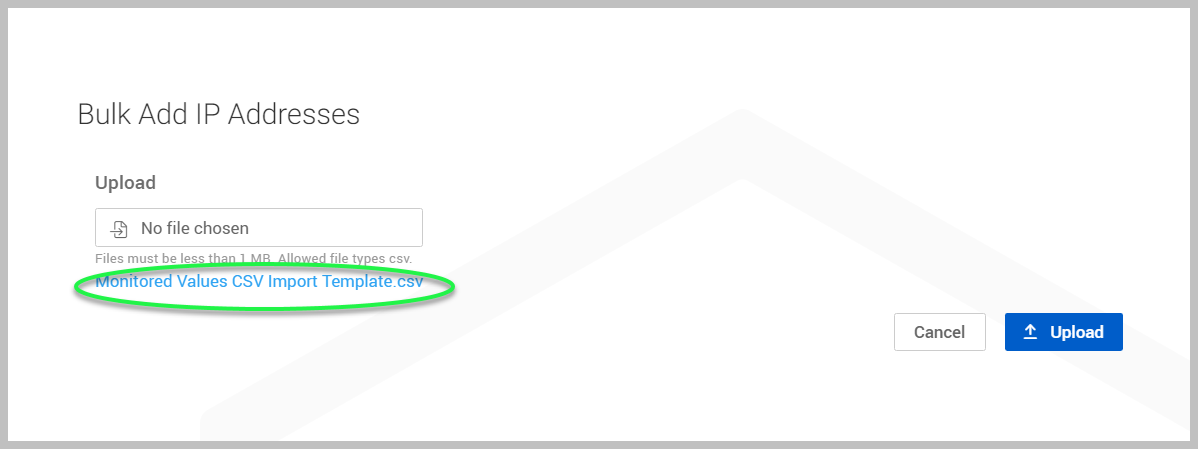
NOTE Only CIDR masks from /24 through /32 are supported for IP addresses added via bulk upload. IP ranges broader than /24 are not permitted.
-
Click Upload.
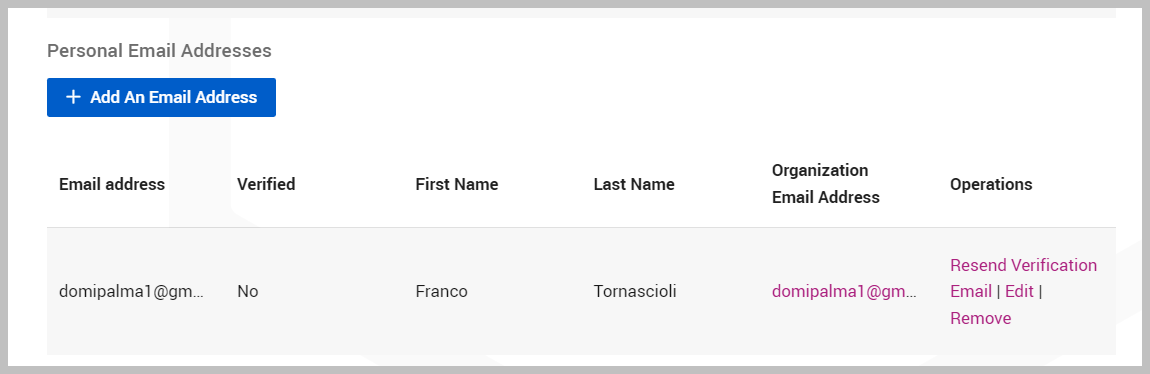
Adding an email address
-
Select + Add An Email Address to add an email address to be monitored for this organization.
-
Fill out the fields to enable monitoring for this organization and click Save.
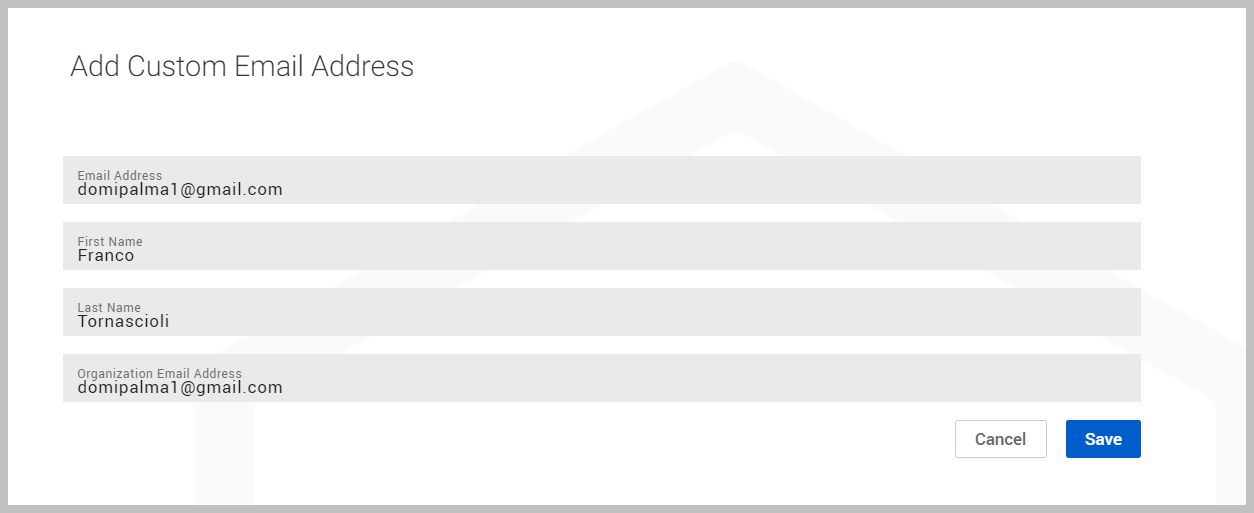
The newly added email address will now be displayed as monitored. The system will send a verification email containing a link. The recipient will need to click that link to verify the email address.
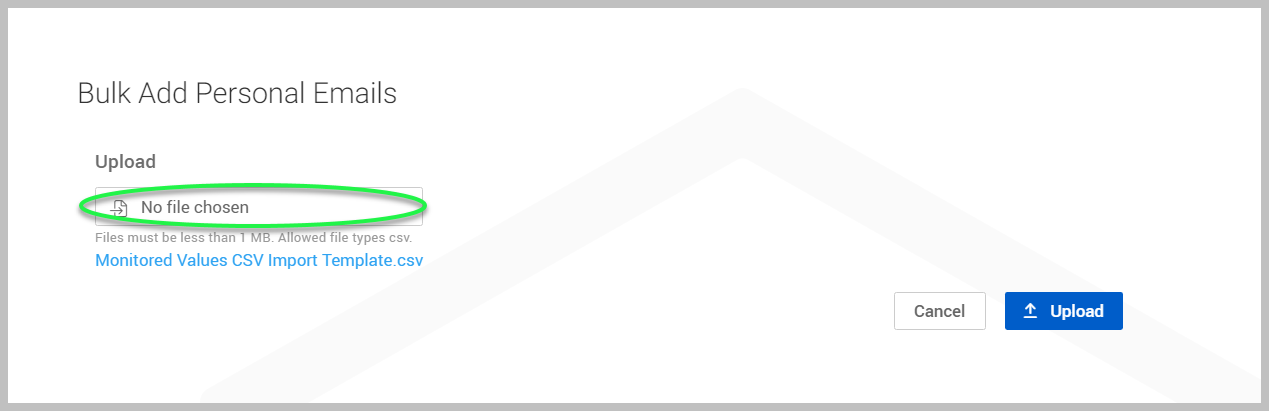
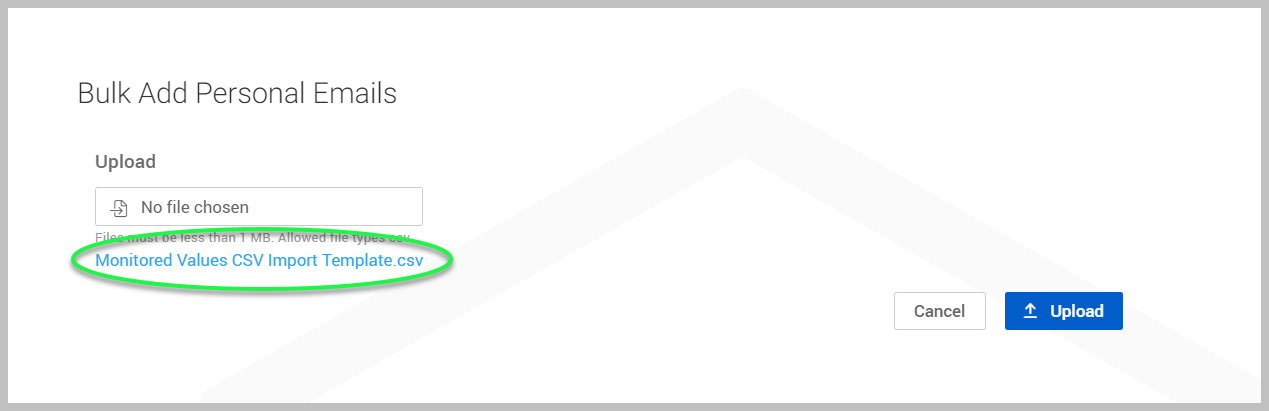
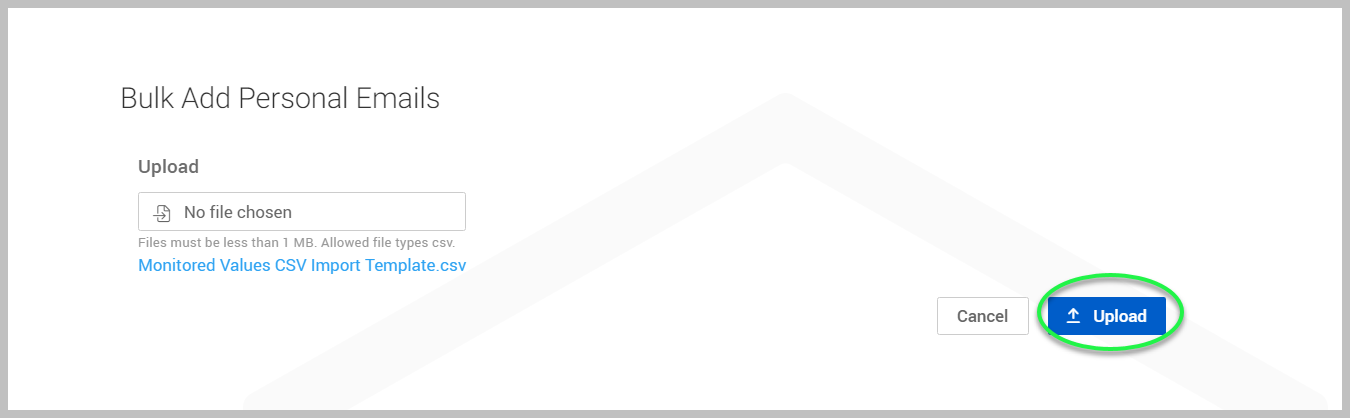
Adding personal email addresses in bulk
To add personal email addresses in bulk, follow these steps:
-
Click + Bulk Add Personal Emails.

-
Click the No file chosen field to choose a CSV file from your device. The only allowed file type is CSV.
-
You can download a CSV import template by clicking the Monitored Values CSV Import Template link.
-
Click Upload.
Removing monitored values
If you wish to remove a monitored value, please follow these steps:
-
In the side navigation menu, click Organizations.

-
Click the More menu icon
 on the far right.
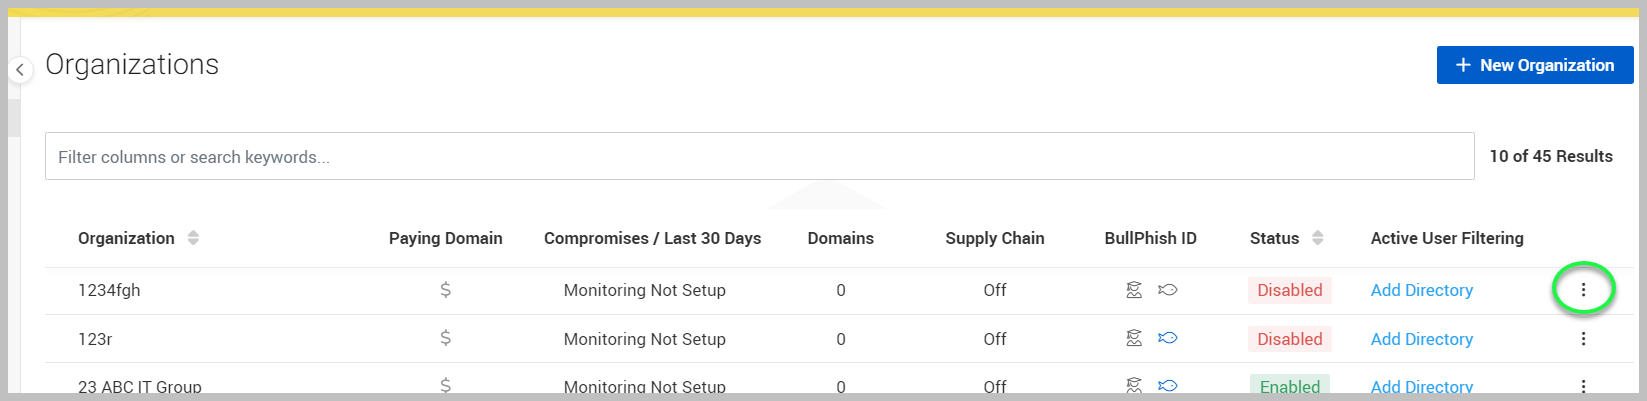
-
Select Monitor

-
On the Manage Monitored Values page, click the trash can icon next to the monitored value.

-
When prompted, click Delete to confirm.
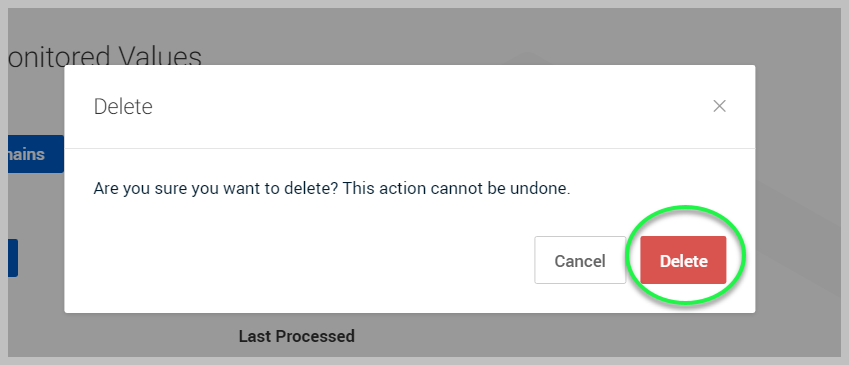
NOTE Once a monitored value is deleted, all tracking and monitoring for that monitored value are removed from Dark Web ID. This action cannot be undone.
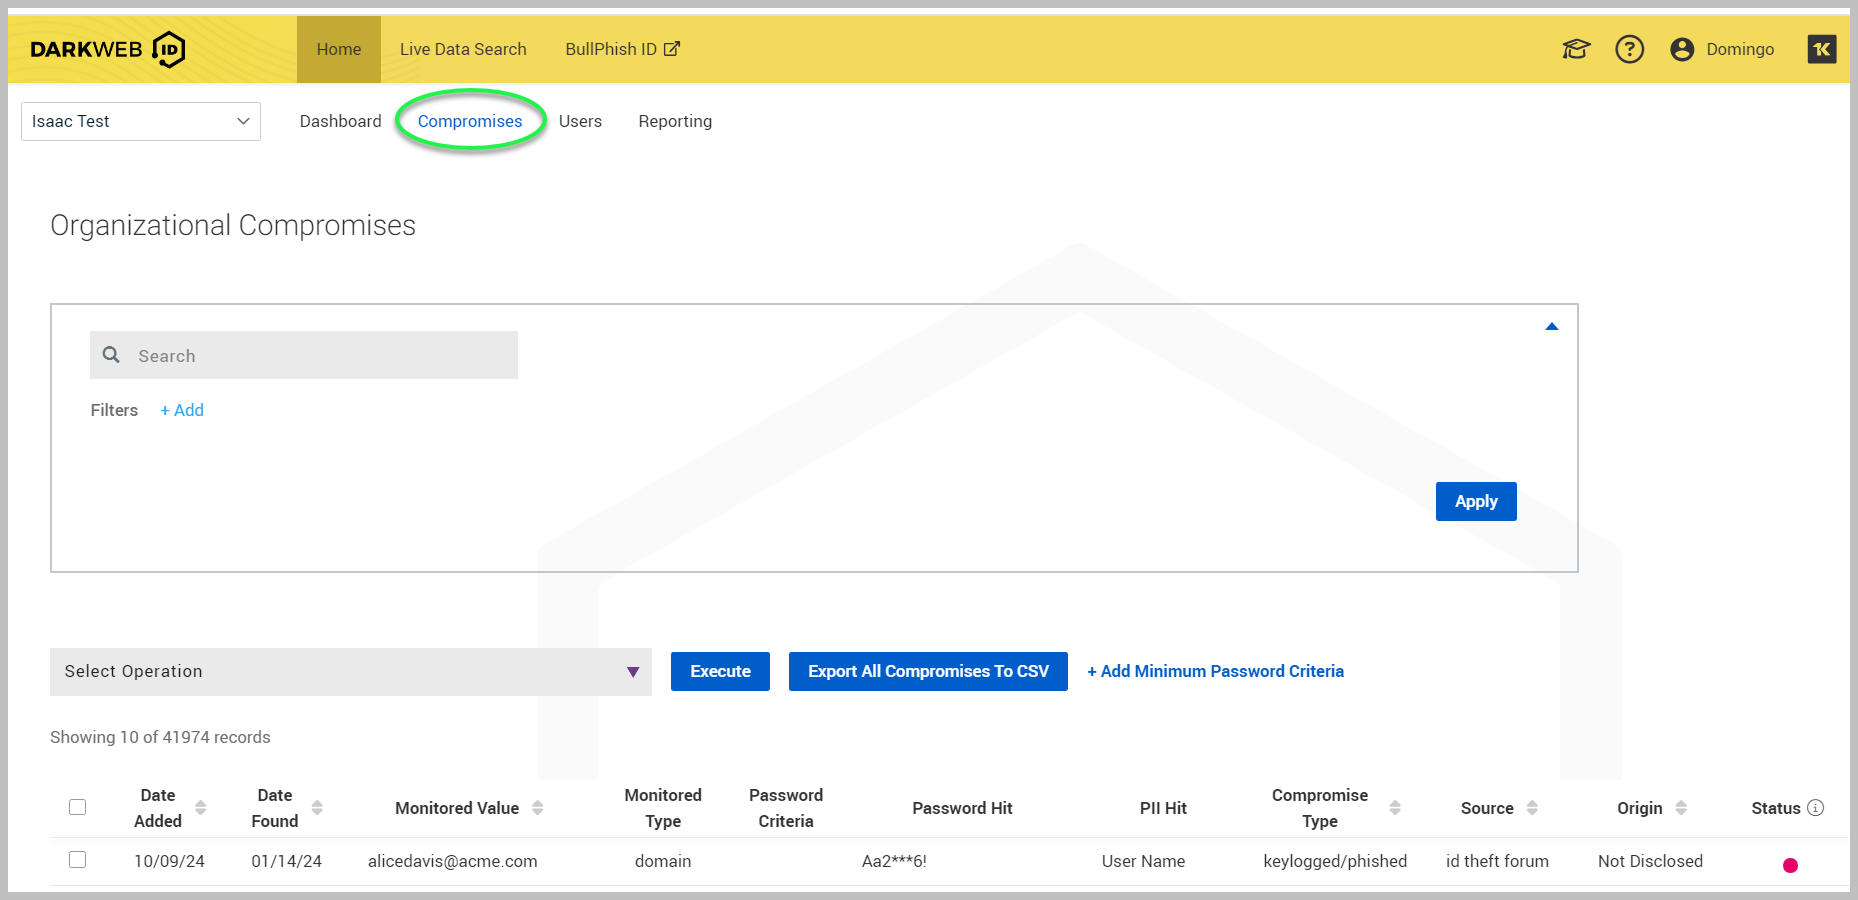
When monitoring is live, all monitored values will be visible in the Compromises tab.